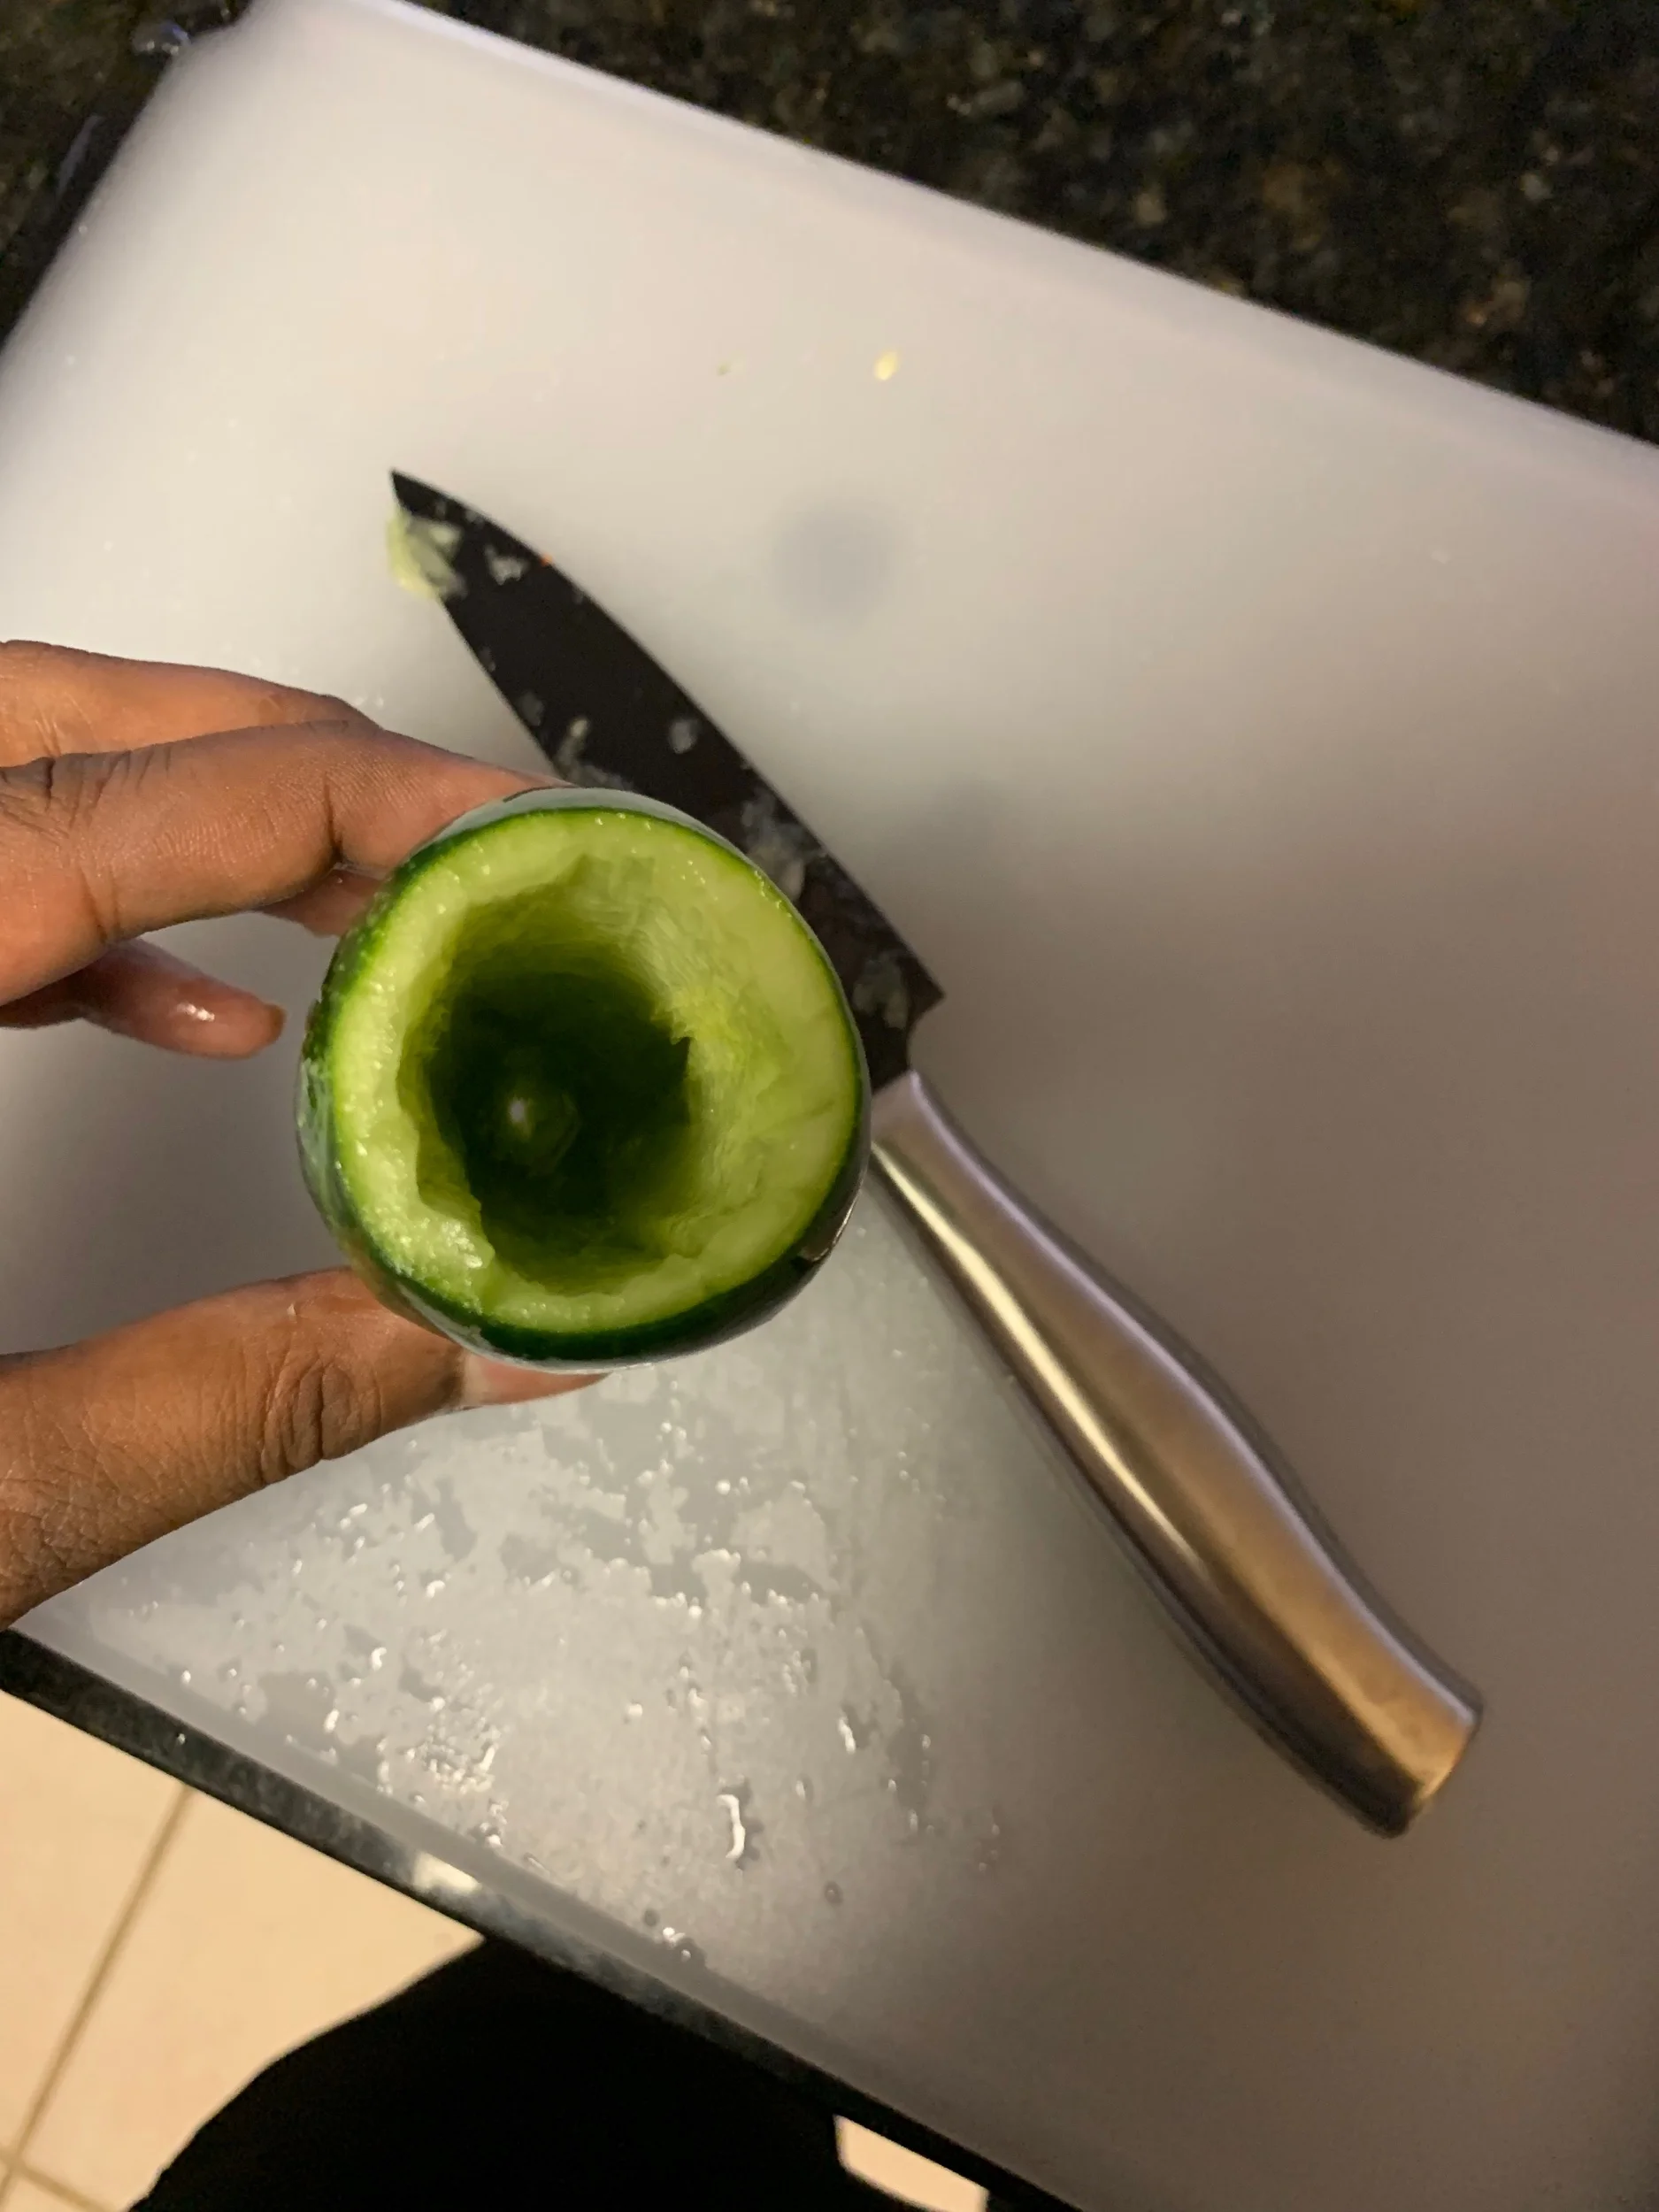
This week’s PComp assignment— somehow our very first— was to make a switch. That’s it— make a switch. Last week in fabrication, I learned the simple mechanical function of a switch in a circuit when I made my pickle flashlight with a traditional on/off pushbutton switch. This week, we were encouraged to get a little more creative. Behold, the latest addition to our collection of things we can procrastinate with later in the semester:
Inspiration
With so many of our interactions limited to touching and swiping, are we losing out on a wider range of potential human expression through interaction? Our discussions in class have been fascinating, and I loved that it naturally led into this assignment. I wanted to use some human action that felt different than touch, and as I was watching some basketball highlights, I thought I’d prototype a throwing-based switch.
Prototype and Process
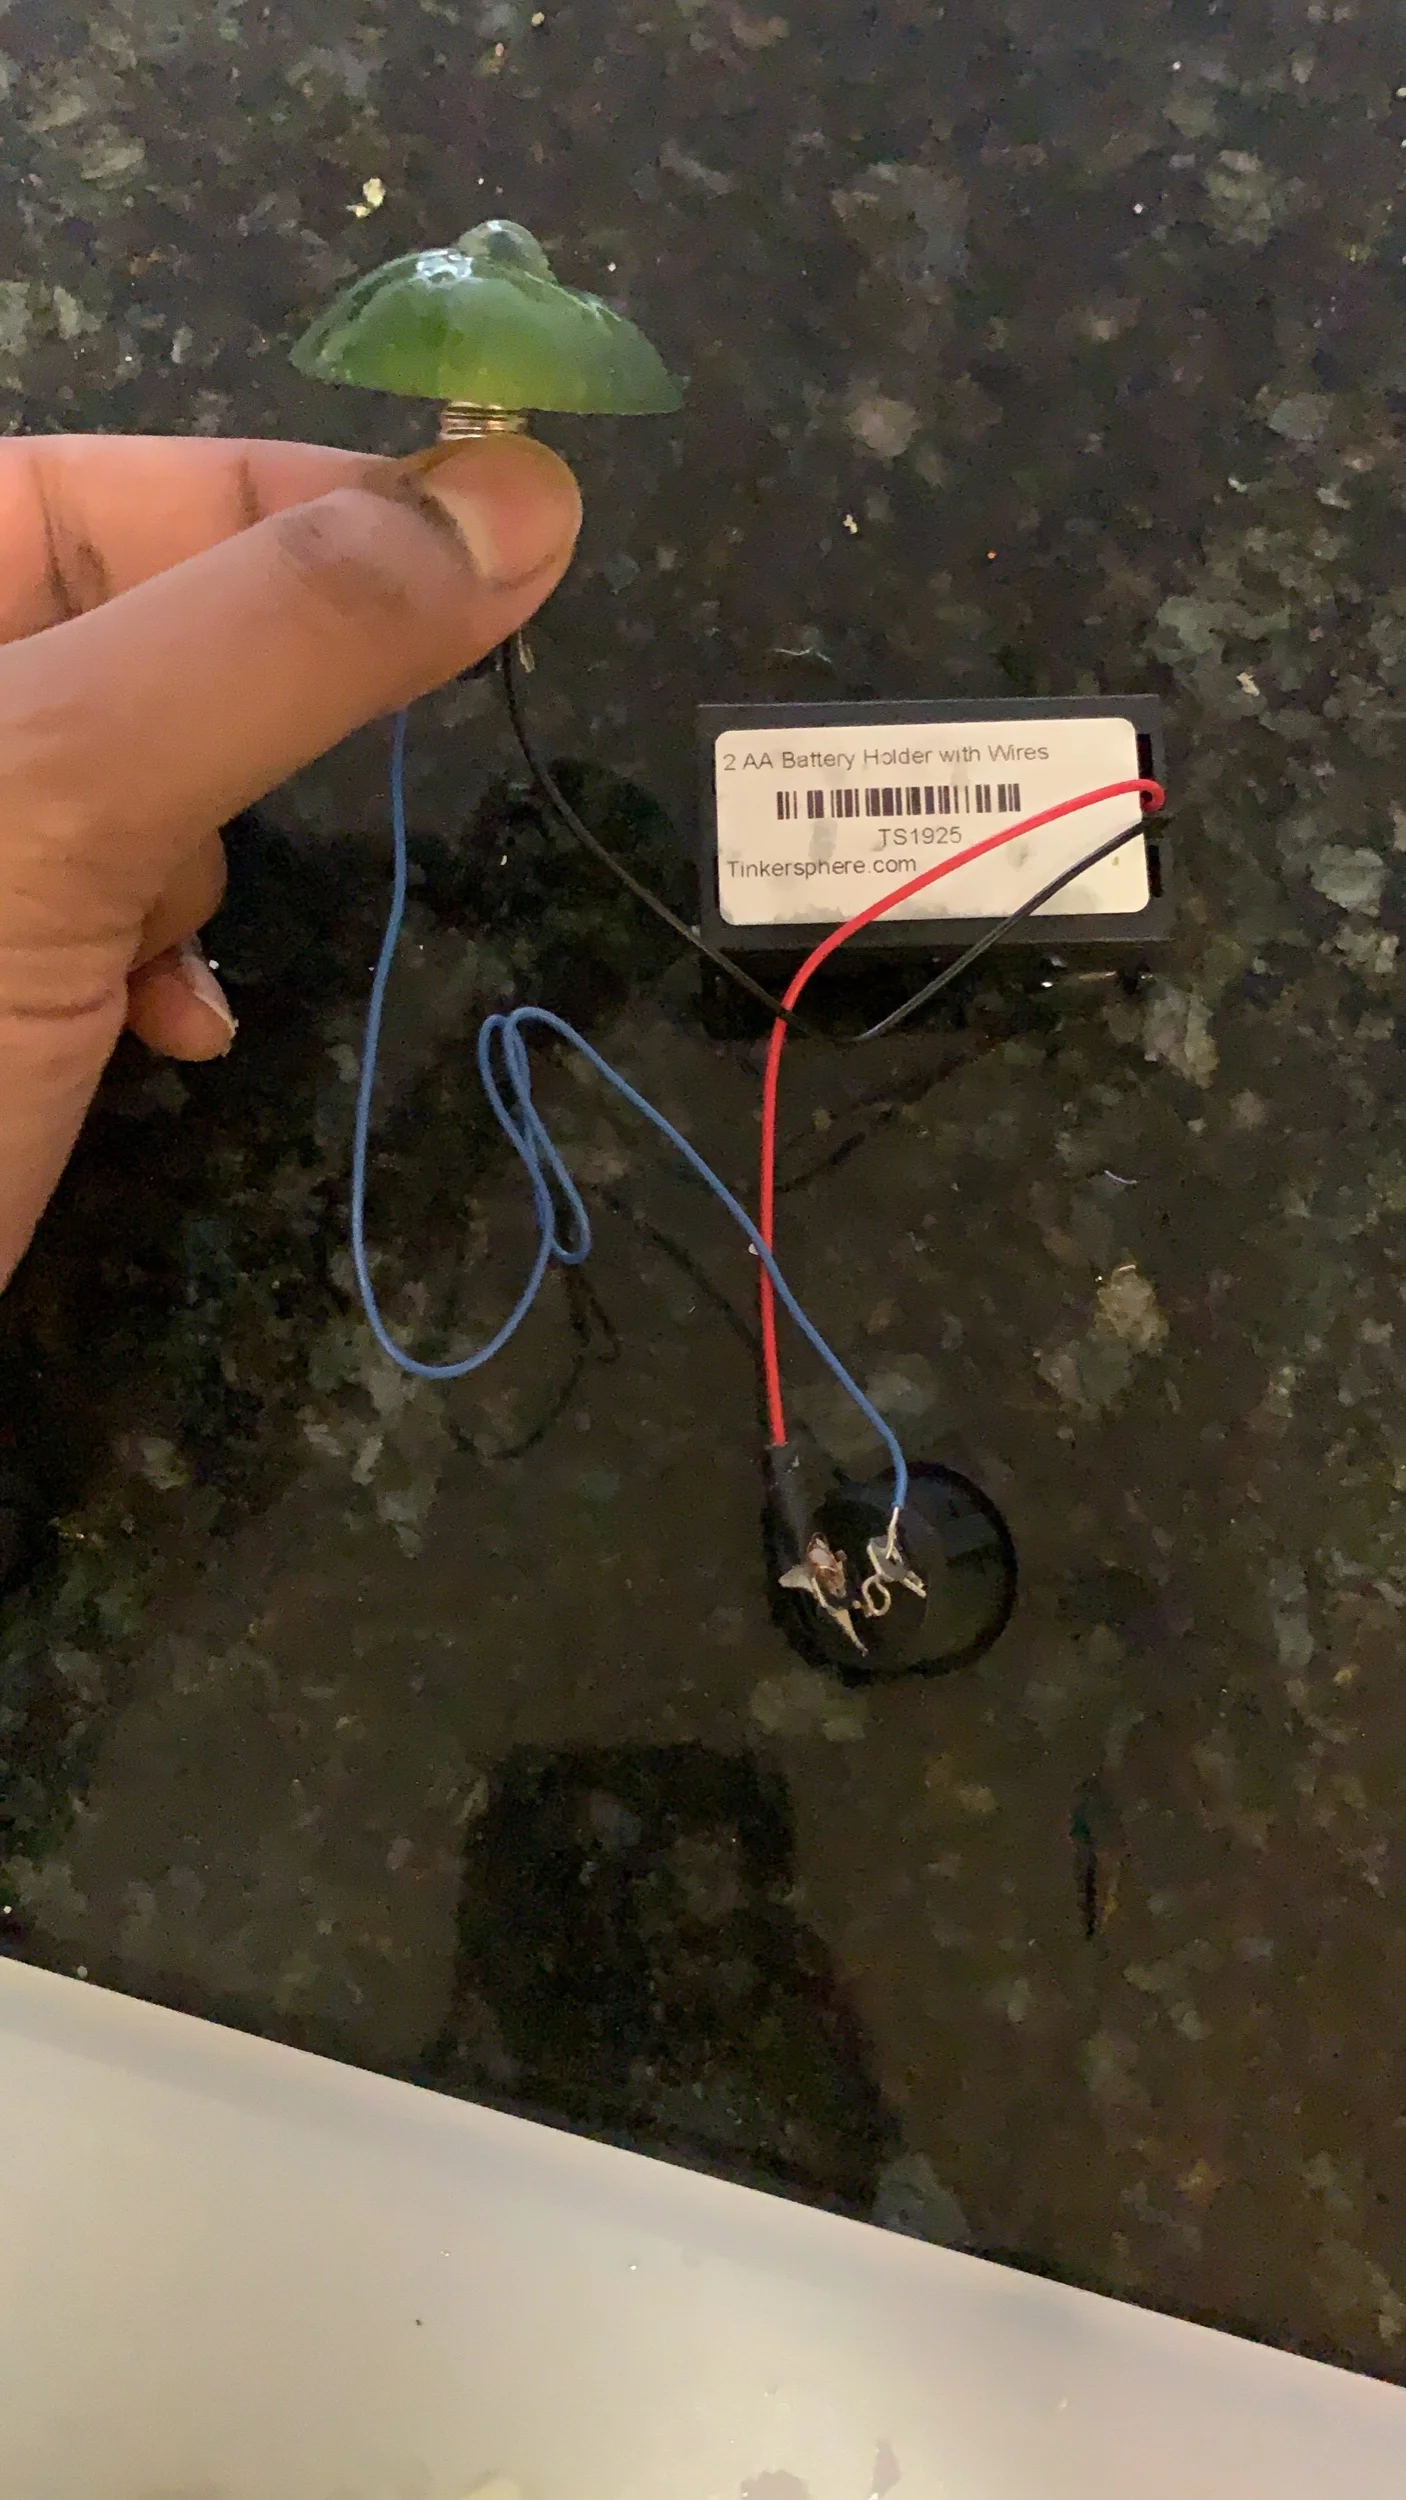
In my kitchen, I repurposed the circuit from my pickle flashlight, grabbed a solo cup and a piece of crumpled foil out of the recycling bin and gave it a shot… (no pun intended, seriously):
The switch worked! Now for the easy stuff… right? Let’s list out what was left to do:
Extend/lengthen the wire setup for a fully conceived design.
Make the surface area for the wire contact points as wide as possible to ensure the ball would turn on the light.
Solder the wires to the light sources and to the additional contact material to keep them secured, in-contact and not moving around.
Secure the cup too— the cup fell over when the foil ball hit the rim.
Make everything look better!
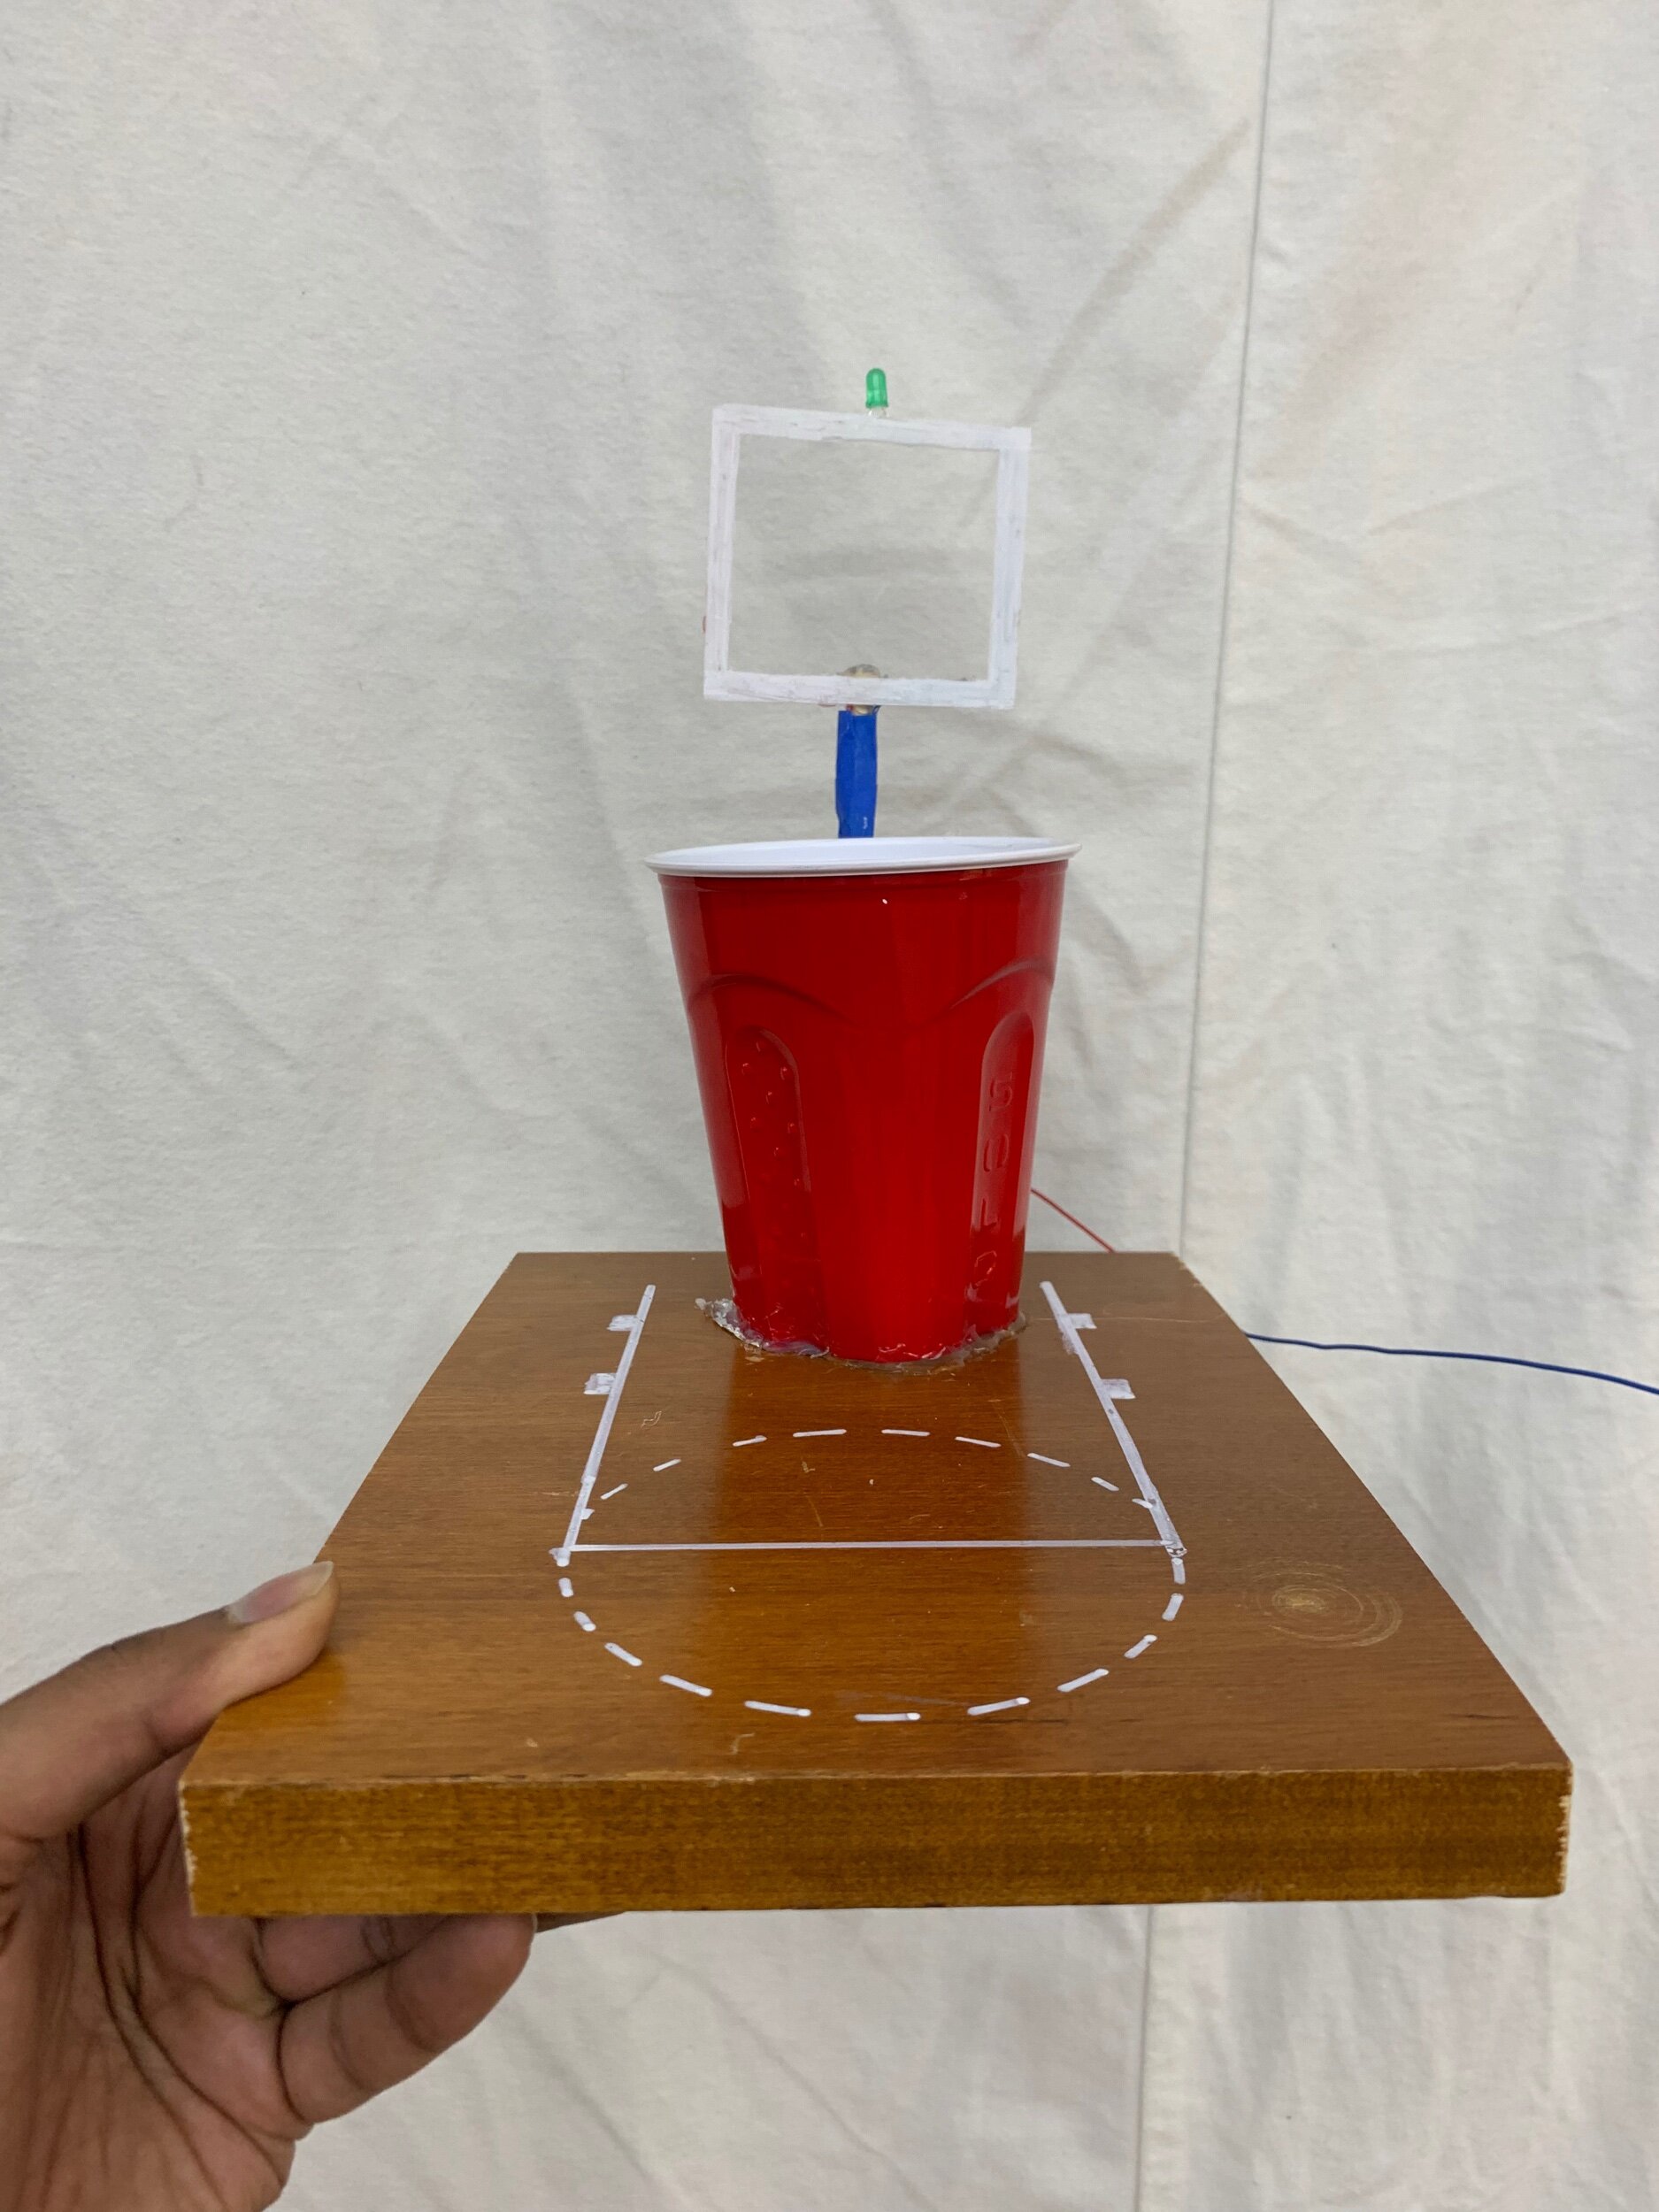
With these high-level areas of focus in-hand, I went to work on each part. I started by deciding, while picking up wood for fabrication, that I’d make a little basketball court with a backboard.
Instead of a hoop/net, I decided to keep the red solo cup with its bottom cut out— either to make sure that the ball didn’t roll off the court and off the contact points, or out of subconscious college beer pong flashbacks. I cut a piece of wood, painted a free throw line, and grabbed a piece of acrylic from the free bin for the backboard. To complete the court, I borrowed a wooden dowel from Jake, drilled a small hole in the wood, and stuck in the dowel for the goal post. I glued the wires along the perimeter of the backboard behind white paint and taped them onto the goal post with blue tape (a-la- the foam padding on real goal posts) to hide away the wiring as much as possible.
In case it’s not visible, I put two pieces of foil on the court inside the solo cup with a narrow sliver of space in between them. I connected one of them to the positive wire connected to the light and the other to another piece of positive wire leading back to the power source. The ground wire was attached to the negative pole of the light. After hitting a shot into the cup, the piece of foil completed the circuit by connecting the two pieces of foil (and the positive part circuit wire.)
I tested the circuit to make sure it worked along the way. Along the way, it turned out that I needed a few soldering jobs to make sure everything worked according to plan. More on that below!
Help! I need somebody
I haven’t studied circuits since 2005. Given the rapid pace of our classes, getting up to speed is a team effort. Special thanks to Ben, Noah and Helen for helping me learn how to solder — never done it before! — and Cy for ideas for improving the connectivity of my circuit + taking pics. Shoutout to Emily and Jake for videos as well!

Thanks to everyone above for all the help! Noah pictured here teaching me how to solder. (Ben and Helen not pictured)
Final product for PComp Week 2 Switch assignment