Assignment: Create a project with interactivity that ideally uses serial communication between a microcontroller and computer. Daniel Fries and I collaborated on this assignment.
Idea: Daniel and I chose to collaborate together to build an instrument. Beyond knowing we wanted to make some sort of instrument, we entered the brainstorming phase with a pretty blank slate. Some recurring themes in our brainstorming included the concept of scrubbing through granules of sound, analog tape as either an aesthetic or as an actual mode of playback and playback controlled by walking in physical space. We knew we did not want any screens involved and wanted to make a very physical experience for the musician; we also wanted there to be a process of discovery for the musician to learn the affordances and nuances of the instrument. It would not need to be immediately apparent what produced sound, and what qualities of sound were possible.
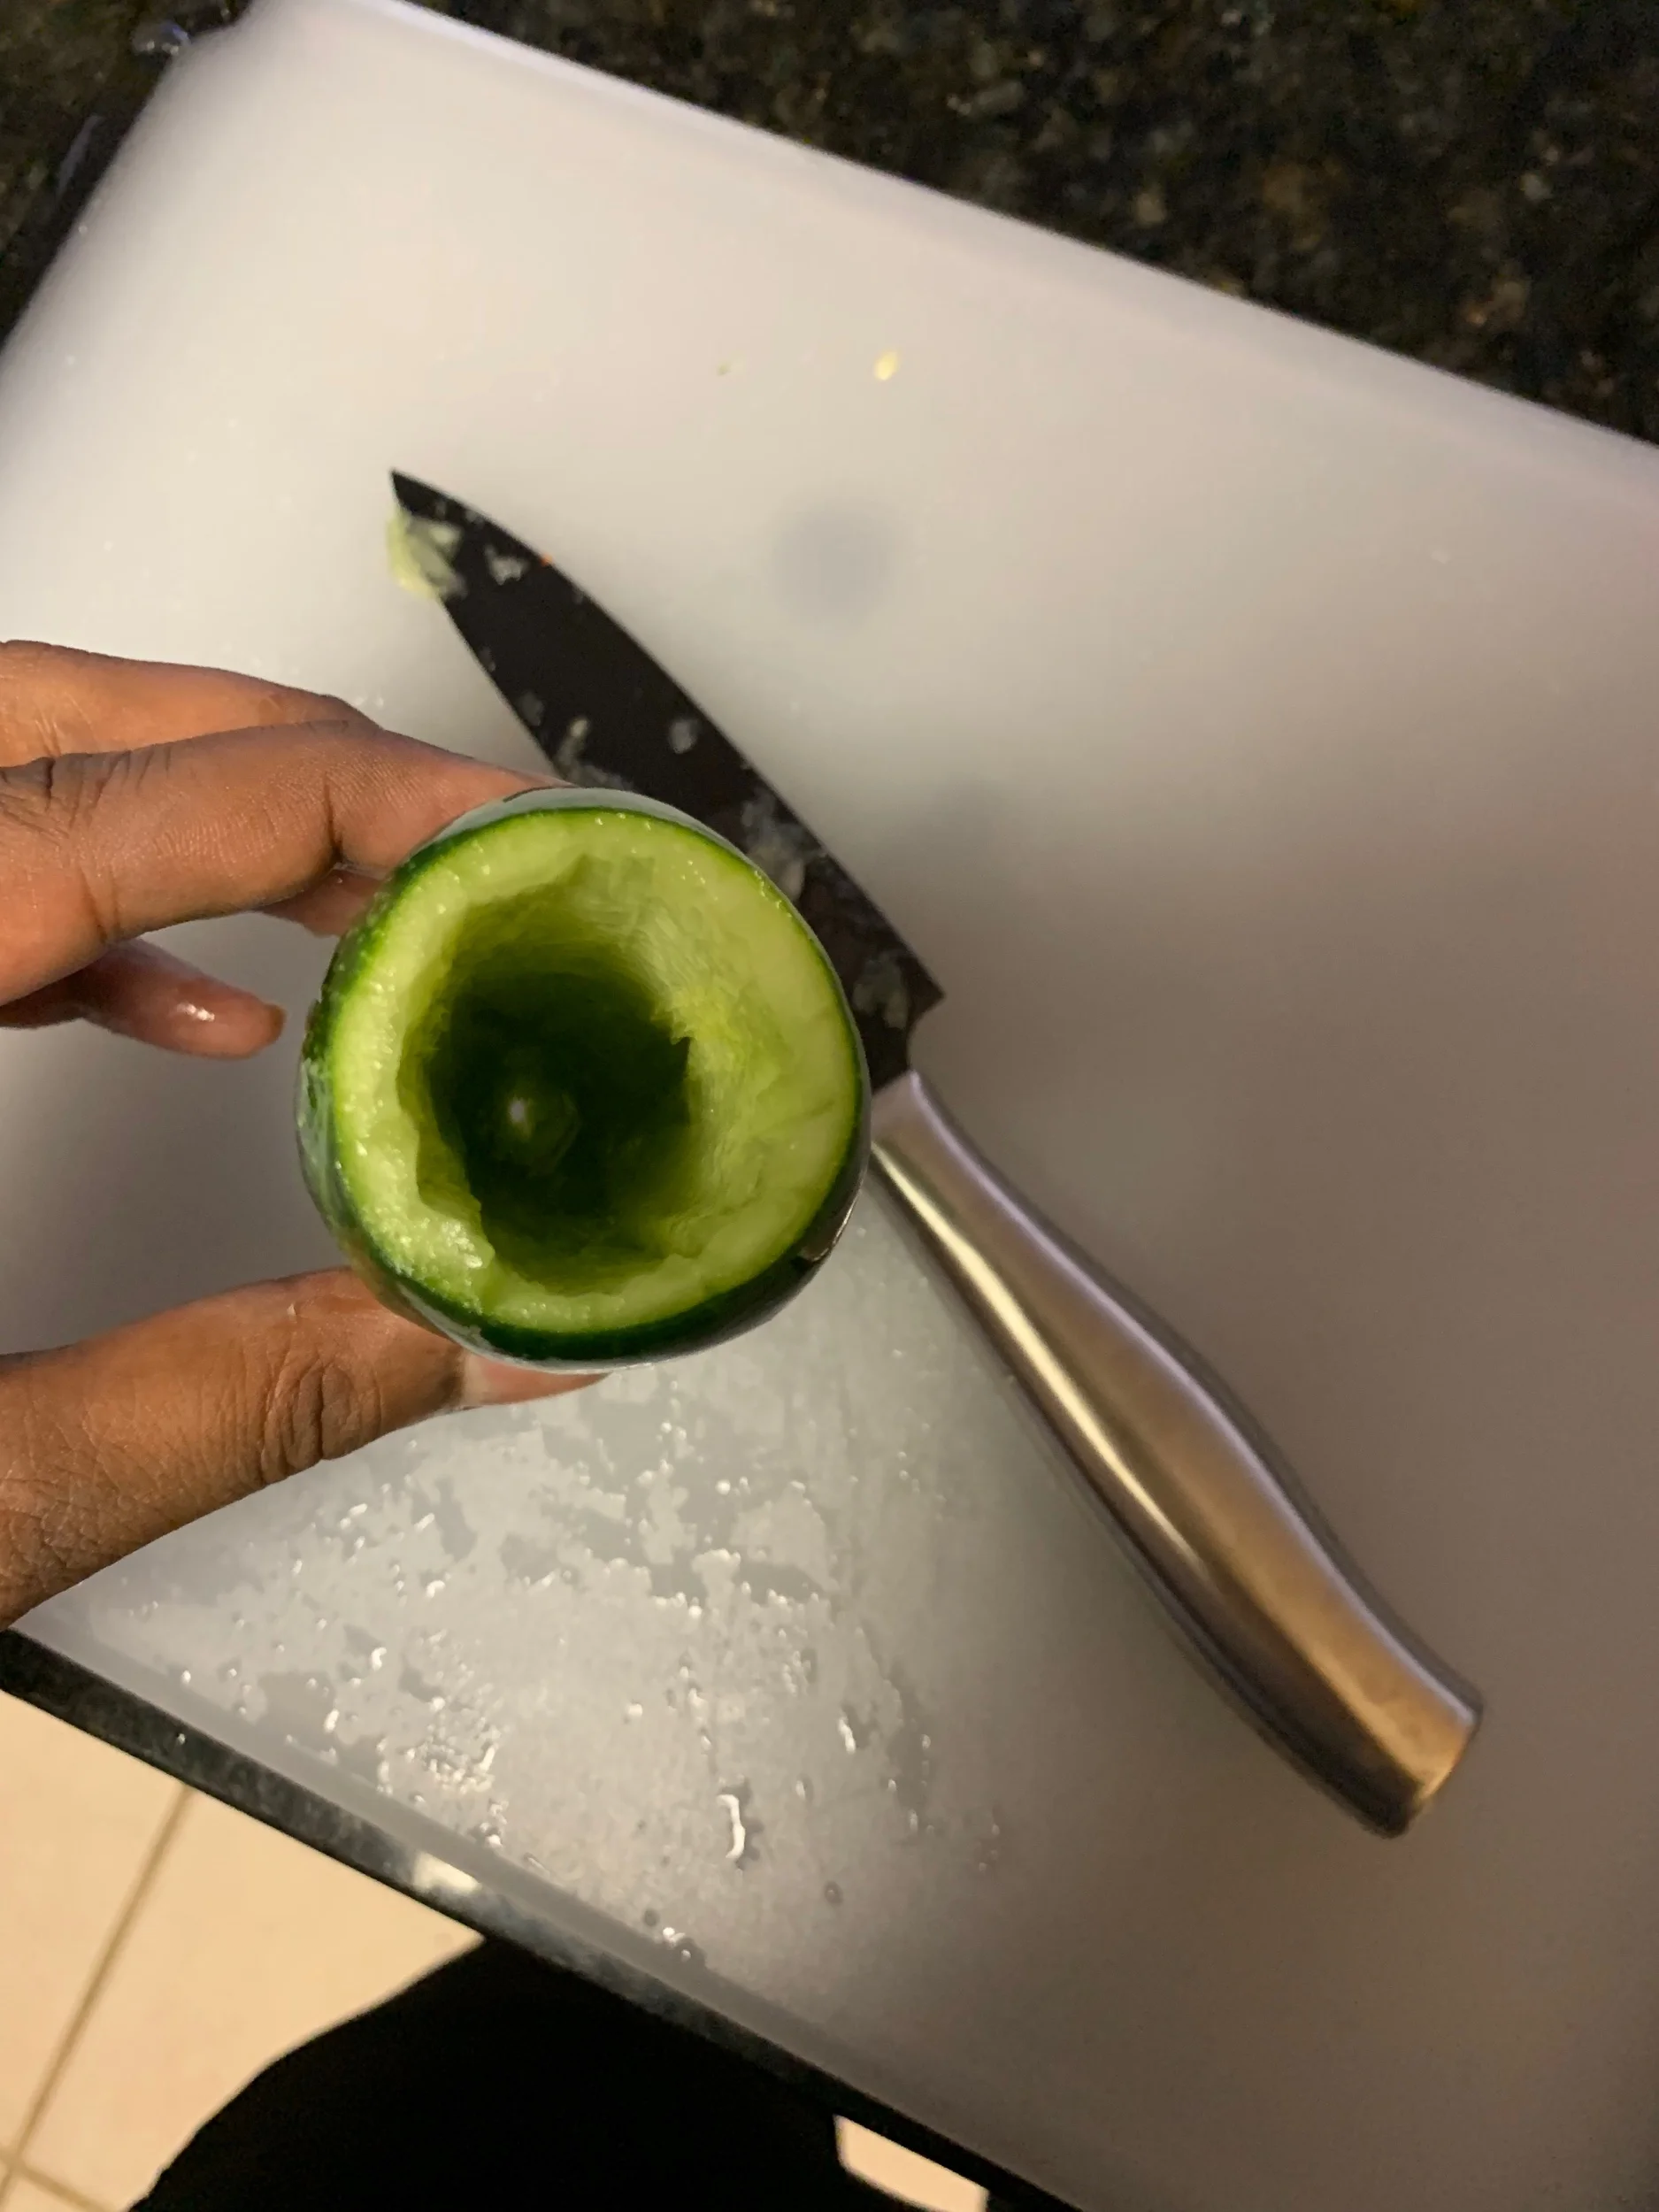
We landed on using the idea of mixing liquids to control different parameters of sound. We imagined our users mixing cocktails with different outcomes depending on the particular proportions of spirits and mixers used— among other applications.
Process: Our initial plan was to place 3 glasses in a fabricated wooden enclosure and have a mixing bowl outside of the enclosure. We wanted to put load sensors under each glass/bowl to sense the amount of weight in each one, then program conditions that either changed sounds depending upon hitting particular thresholds of weight or conditions that changed continuously as weight changed.
We placed our order for 4 load sensors on Thursday. The assignment was due the following Wednesday and the sensors were supposed to arrive on Saturday. By Tuesday morning, we still did not have the sensors in-hand. Once we did get them, our worst-case scenario played out: the sensors did not behave as we had expected.
It turns out that 4 load sensors need to be used in-concert to form a Wheatstone Bridge circuit. We expected to be able to use just one load sensor to pull signal from the glass above it, even if that signal was only directionally correct. Once we discovered that this would not work, and it would be both time-and-cost prohibitive to make this approach work, we shifted to a different plan.
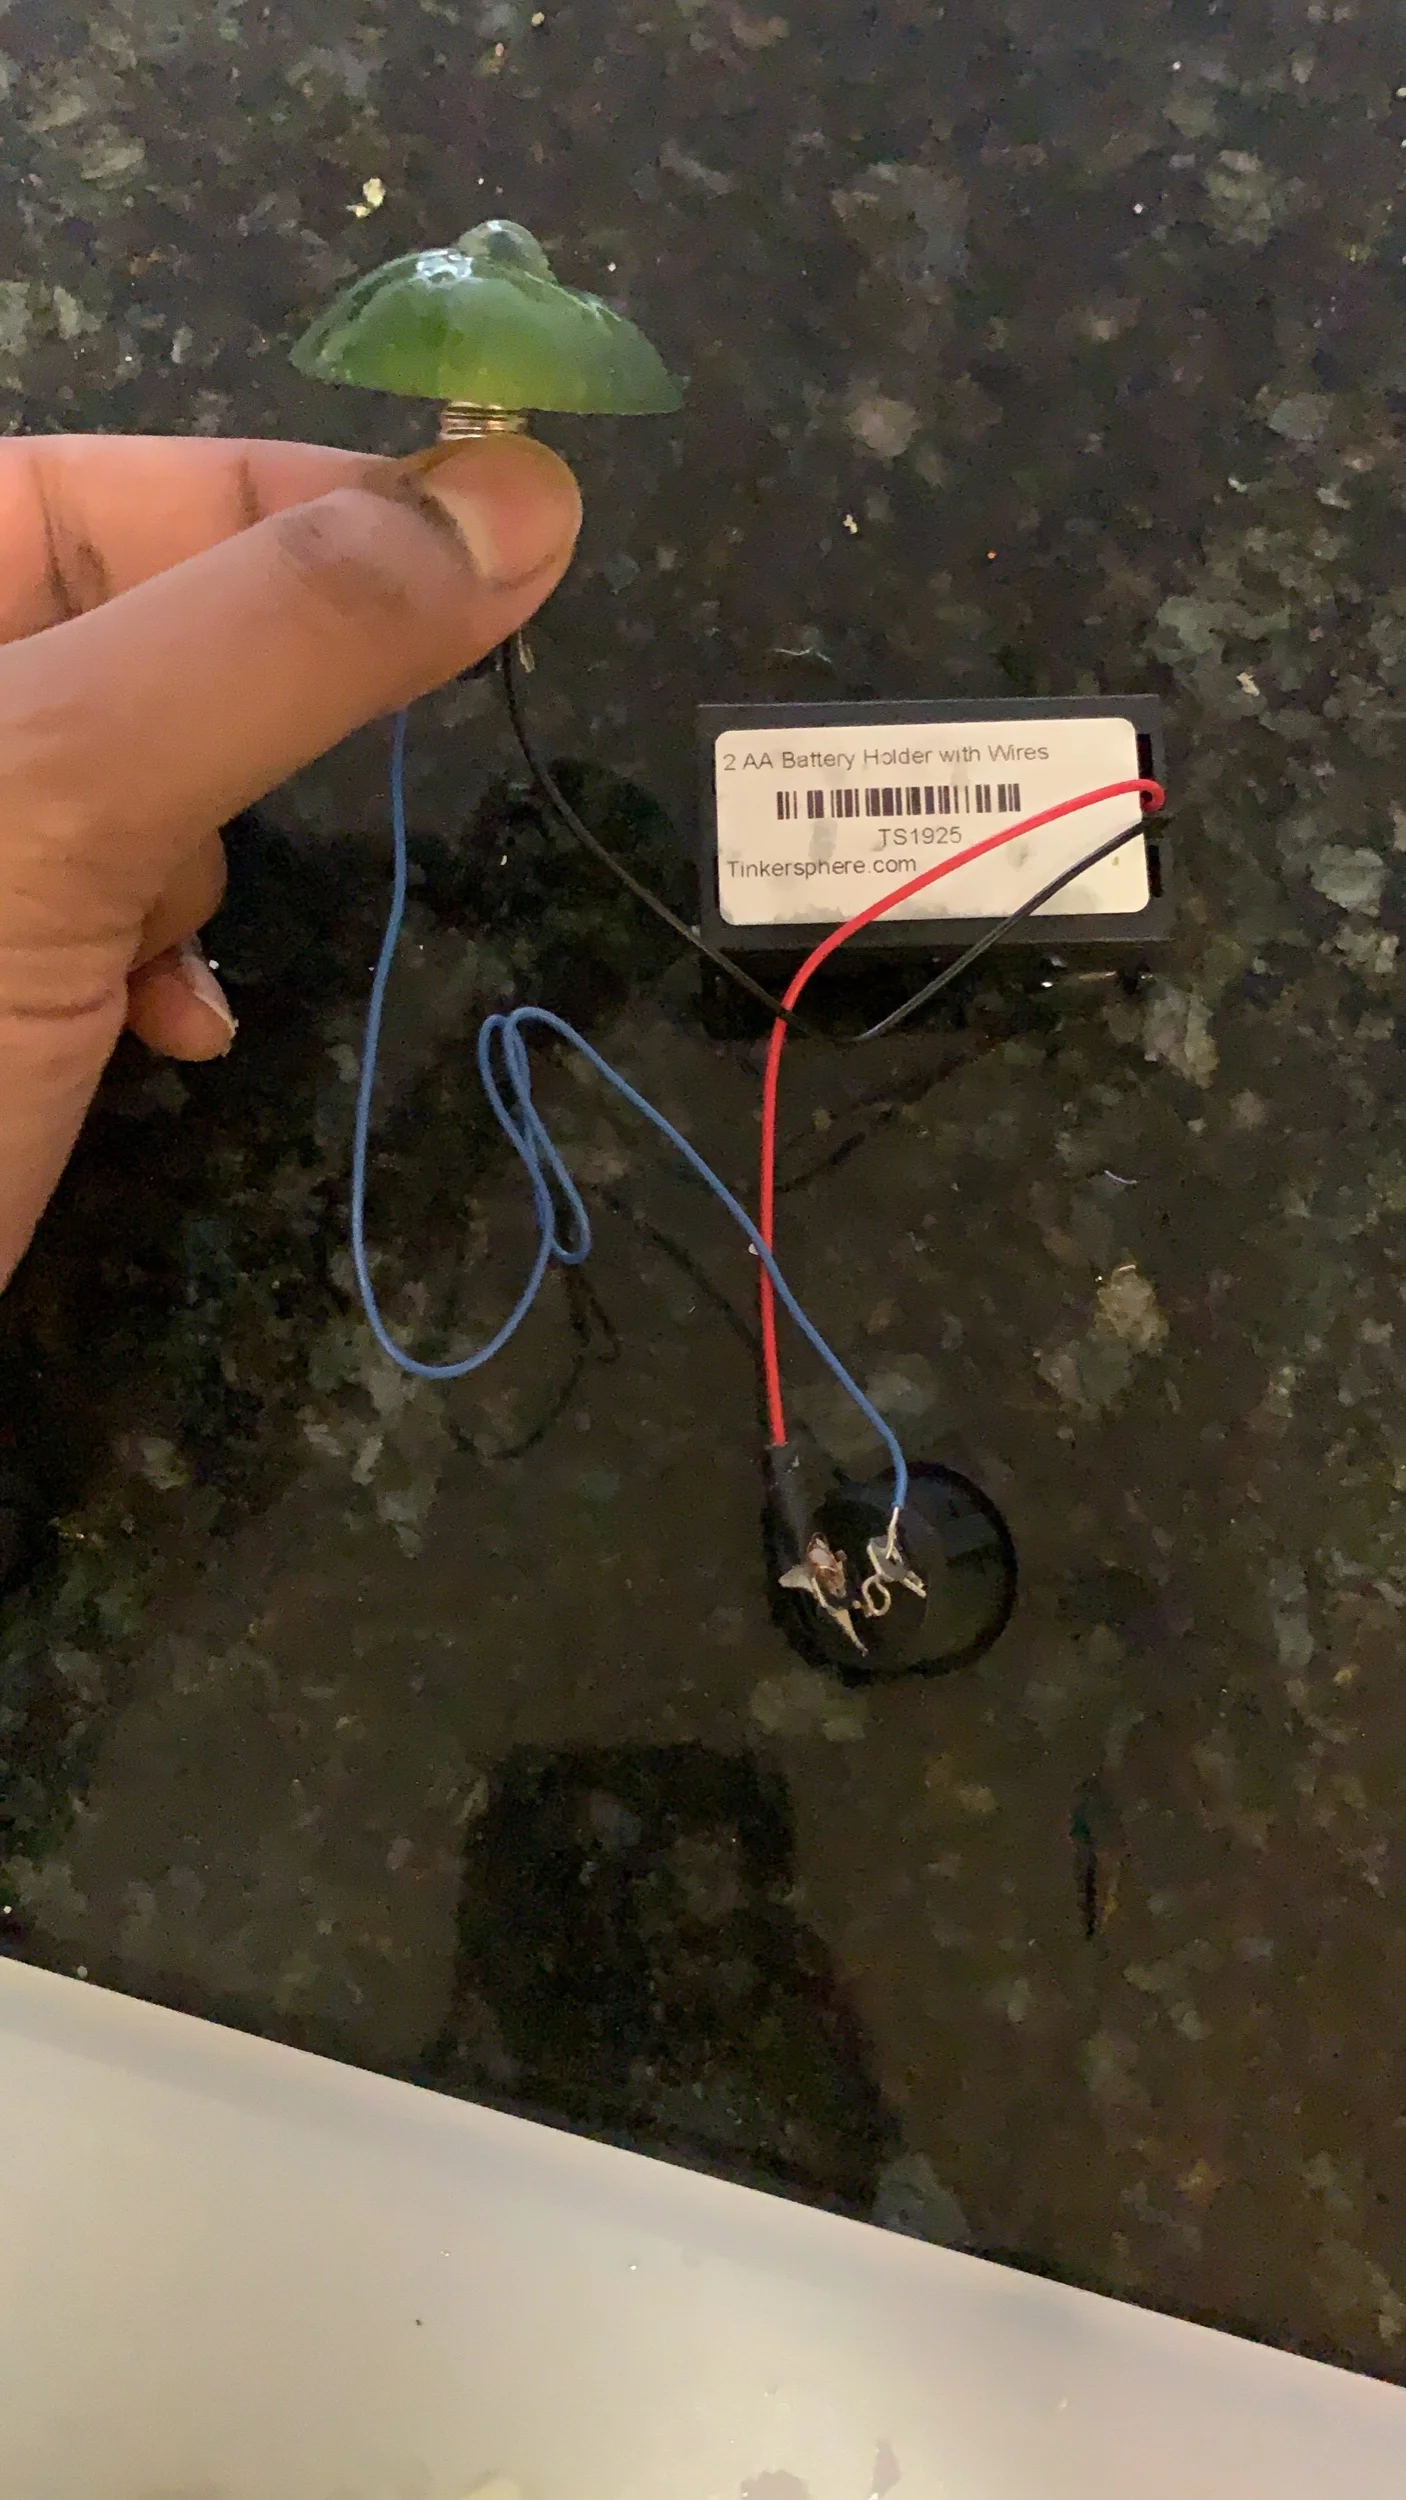
We had already fabricated our enclosure and written pseudocode before the sensors arrived; we needed a suitable alternative for the load sensor. Luckily, it turns out Force Sensing Resistors can pick up something akin to weight; and given that we only needed a directional reading, they were a fine alternative. We borrowed FSRs from classmates, soldered longer wires to them, and tested different setups with our enclosures to make sure they could pick up signal as our glasses filled with liquid.
Once we got them working well enough around 9:30pm, we switched to turning our pseudocode to real code in Tone.js. Daniel had experience writing musical instruments in Tone.js; although our initial plan was for me to drive the code section so that I could ramp up my skills, we ultimately had to have Daniel take more control (although we still sat together and talked through all of the code during the process) for the sake of time.

Reflections:
At the end of the day, our instrument worked and drew good responses from users who got to listen to + play the instrument. However, if we had our hands on sensors sooner, we could have finished a working prototype in time to work through details in the enclosure and the sound generation to make this a truly interesting musical device that we could continue to perform with. We’ll take that as a learning lesson moving forward in our physical computing projects.